Since version 1.9.6, DK PDF allows you to add custom fonts to the PDF easily using dkpdf_mpdf_font_dir and dkpdf_mpdf_font_data filters.
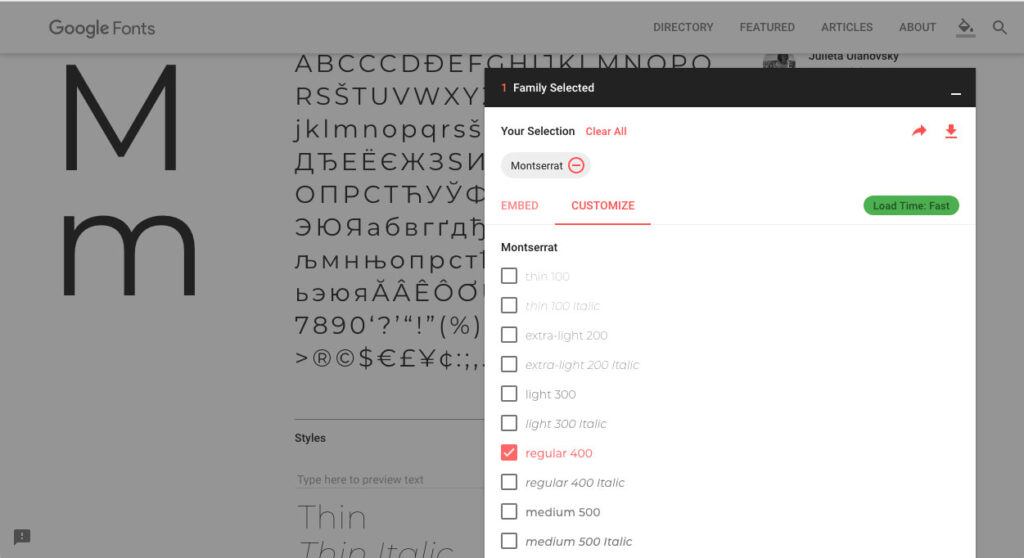
In this example we are going to use Montserrat Google Font, so the first thing to do is download the font from here.

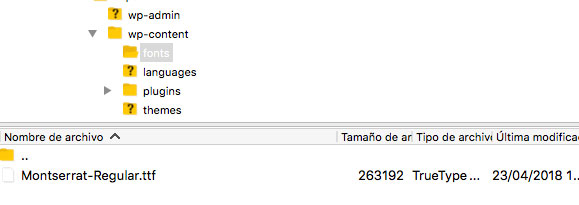
In your WordPress installation, create a new folder fonts inside wp-content and upload Montserrat-Regular.ttf file:

Next thing to do is add the filters, you can add this code to your theme functions.php for example:
<?php
/**
 *  Define the directory with the font via fontDir configuration key.
 */
add_filter( 'dkpdf_mpdf_font_dir', function ( $font_dir ) {
    // path to wp-content directory
    $wp_content_dir = trailingslashit( WP_CONTENT_DIR );
    array_push( $font_dir, $wp_content_dir . 'fonts' );
    return $font_dir;
});
/**
 * Define the font details in fontdata configuration variable
 */
add_filter( 'dkpdf_mpdf_font_data', function( $font_data ) {
    $font_data['montserrat'] = [
        'R' => 'Montserrat-Regular.ttf',
    ];
    return $font_data;
});
Finally, create a new post and add this content:
Lorem <span style="font-family: Montserrat;">ipsum dolor</span> sit amet.
For the sake of simplicity, we are adding the css style inline directly in the post content, just keep in mind that you can add the styles in DK PDF Settings CSS tab.
That’s all, you should now see Montserrat font displayed in the PDF like so:

Here you’ll find more information about how to add fonts in mPDF which is the library that DK PDF uses to generate the PDF: Fonts in mPDF v7+


