Custom Fields feature allows you to include WordPress custom fields (also known as post meta) in your PDF. This means any additional data you’ve added to your posts, pages, or custom post types can automatically appear in the generated PDF.
How to Enable Custom Fields
Step 1: Select the Default Template
- Go to DK PDF > PDF Templates in your WordPress admin
- Select “Default” from the “PDF Template Sets” dropdown
- Click “Save Settings”
Once you’ve selected the Default template, a new “Custom Fields” tab will appear in the DK PDF settings menu.
Step 2: Enable Post Types
- Go to DK PDF > PDF Button tab
- Check the boxes for the post types where you want to include custom fields (e.g., Post, Page)
- Click “Save Settings”
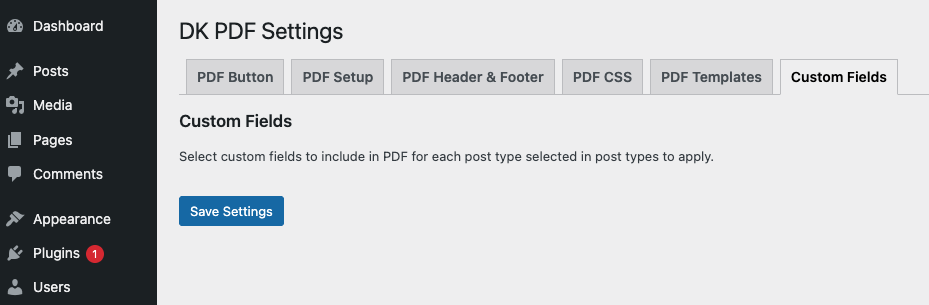
Step 3: Select Custom Fields to Display
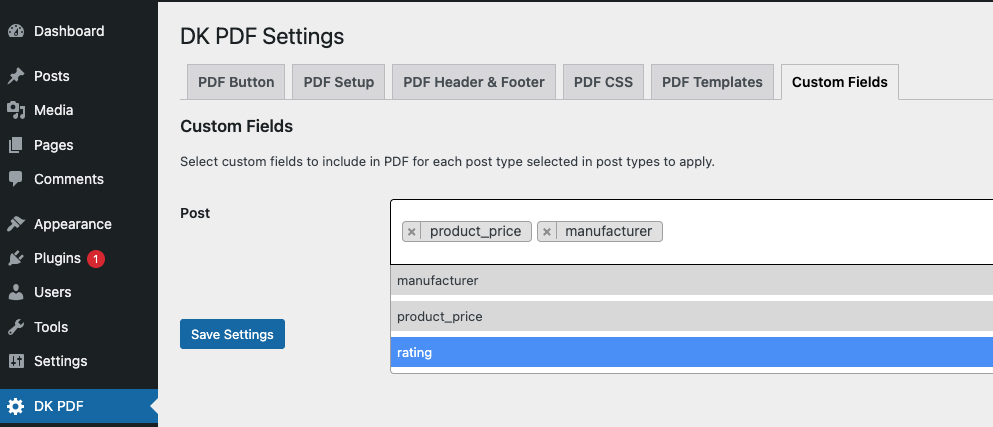
- Go to DK PDF > Custom Fields tab
- You’ll see a section for each post type you enabled in Step 2
- For each post type:
- Click on the dropdown field
- Start typing to search for custom fields, or browse the list
- Select one or multiple custom fields you want to include in the PDF
- Click “Save Settings”
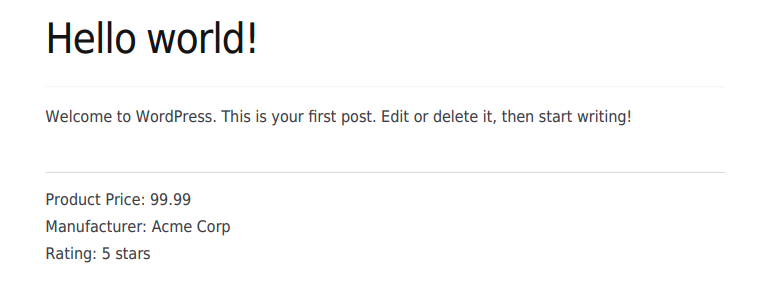
After selecting these fields in the Custom Fields settings, your PDF will show them after the content: