If you’re looking to include additional information in your WordPress PDFs beyond the standard post content, custom fields are your answer. This comprehensive guide will show you exactly how to add WordPress custom fields to PDF documents, whether you’re working with regular posts, Advanced Custom Fields (ACF), or WooCommerce products.
What are WordPress Custom Fields?
WordPress custom fields (also known as post meta) are additional pieces of information you can add to your posts, pages, or custom post types. Think of them as extra fields where you can store data that doesn’t fit into the standard title, content, or excerpt areas.
Common Examples of Custom Fields:
- Author bio or credentials – Display additional information about the post author
- Product specifications – Technical details like dimensions, weight, or material
- Event details – Date, time, location, and ticket information
- Publication information – ISBN, publisher, or publication date for books
- Custom metadata – Any additional information relevant to your content
Custom fields give you the flexibility to add structured data to your WordPress content without modifying your post content directly.
How to Create Custom Fields in WordPress
WordPress offers a built-in way to create custom fields. Let’s walk through the process step by step.
Method 1: Using the Native WordPress Custom Fields
Step 1: Enable Custom Fields Panel
If you don’t see the Custom Fields panel in your post editor, you need to enable it:
- Open any post or page in the WordPress editor
- Click the three dots (⋮) in the top-right corner
- Select “Options” or “Preferences”
- Look for “Custom Fields” and toggle it on

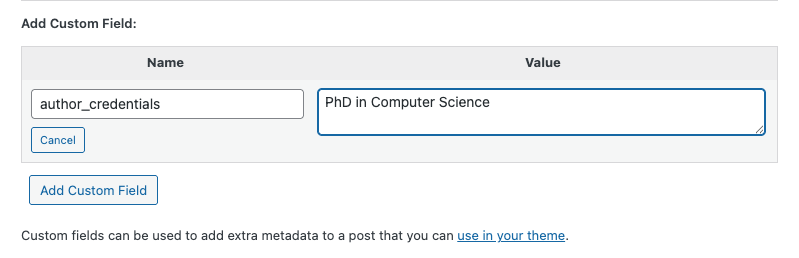
Step 2: Add a Custom Field
- Scroll down below your post content to the “Custom Fields” section
- Click “Add New Custom Field”
- Enter a Name for your field (e.g., “author_credentials”)
- Enter a Value (e.g., “PhD in Computer Science”)
- Click “Add Custom Field”
Step 3: WordPress Get Custom Field Values
Once created, you can reuse the same field name for other posts by selecting it from the dropdown menu instead of creating a new one each time.
Important Tips:
- Use lowercase letters and underscores in field names (e.g.,
product_price, not “Product Price”) - Avoid spaces in field names
- Keep names descriptive and consistent across your site
Adding Custom Fields to PDFs with DK PDF
DK PDF makes it easy to include custom fields in your PDF documents without writing any code. Here’s how to set it up.
Prerequisites
Before you begin, make sure you have:
- DK PDF plugin installed and activated
- Custom fields already created on your posts, pages, or custom post types
- DK PDF version 2.1.0 or higher (which includes built-in custom fields support)
Step-by-Step Setup
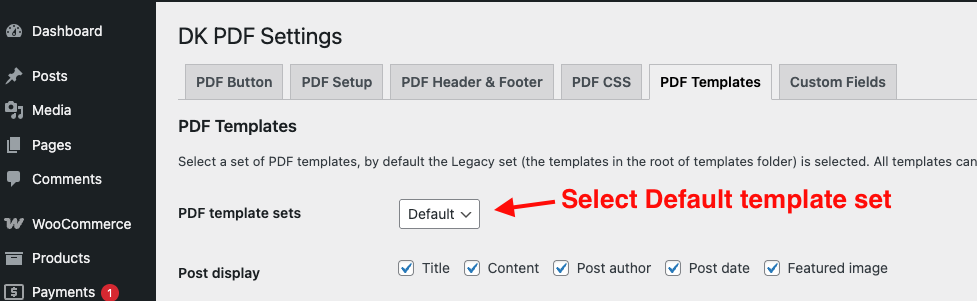
Step 1: Select the Default Template
The custom fields feature only works with the Default template set, not the Legacy template.
- Go to Settings > DK PDF > PDF Templates in your WordPress admin
- Select “Default” from the Template dropdown
- Click “Save Changes”
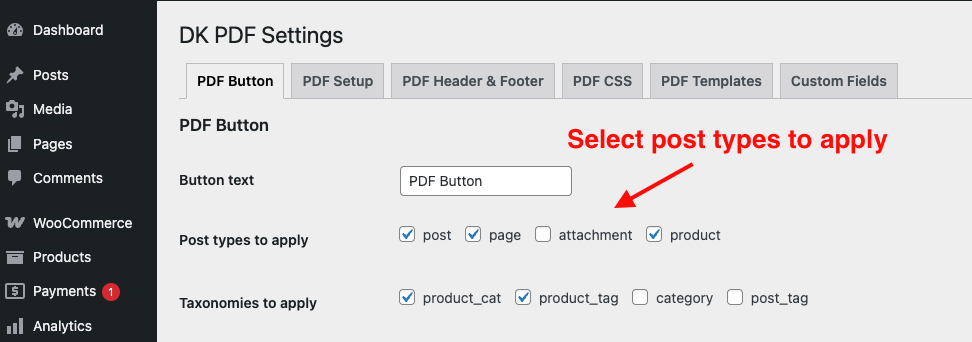
Step 2: Enable PDF Button for Your Post Types
- Go to Settings > DK PDF > PDF Button
- Check the box next to the post types where you want to display custom fields (e.g., Post, Page, Product)
- Configure other button settings as desired
- Click “Save Changes”
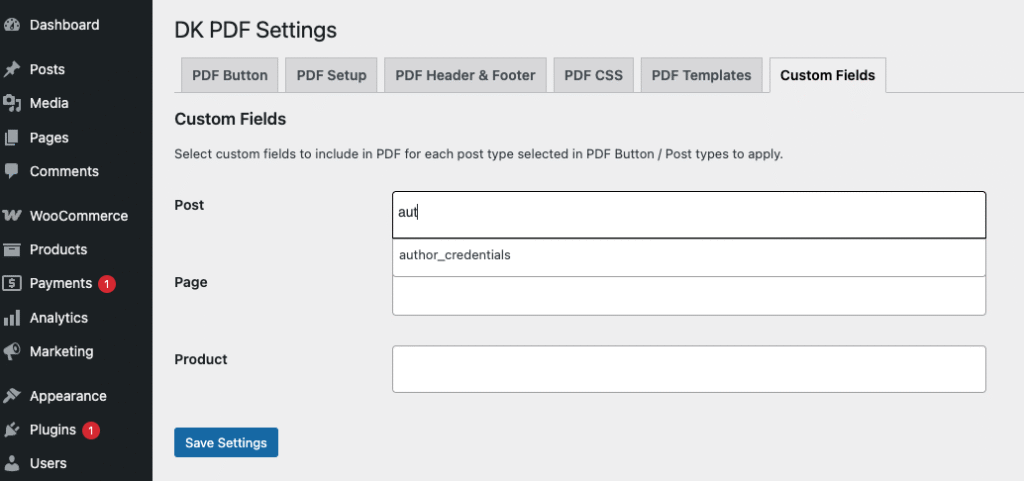
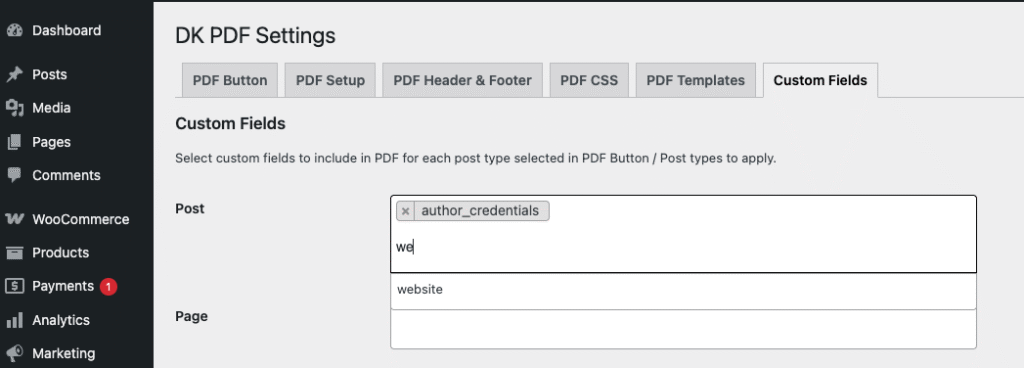
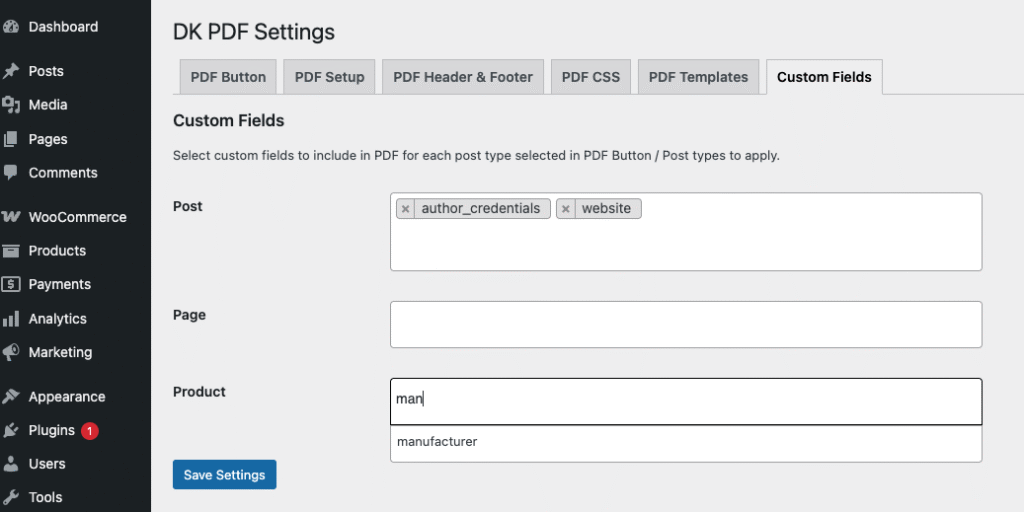
Step 3: Select Custom Fields to Display
After completing the above steps, a new “Custom Fields” tab will appear in your DK PDF settings.
- Go to Settings > DK PDF > Custom Fields
- For each enabled post type, you’ll see a searchable dropdown
- Click the dropdown and search for the custom fields you want to include
- Select one or multiple fields (you can select as many as needed)
- Click “Save Changes”
Step 3: Test Your PDF
- Open any post that has custom field values
- Click the PDF generation button
- Check that your custom fields appear in the PDF document
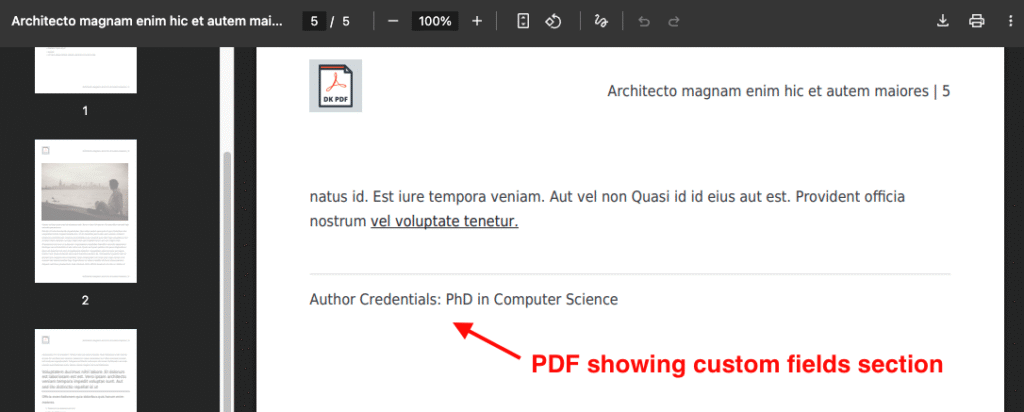
How Custom Fields Appear in PDFs
When you generate a PDF, your selected custom fields will appear in a dedicated section:
- Formatted labels: Field names like
author_credentialsautomatically become “Author Credentials” - Only non-empty values: Fields without values won’t clutter your PDF
- Styled presentation: Custom fields section is visually separated from main content
- Automatic formatting: Each field appears on its own line for easy reading
Using Advanced Custom Fields (ACF) with PDFs
Advanced Custom Fields (ACF) is one of the most popular WordPress plugins for creating and managing custom fields. The good news? DK PDF works seamlessly with ACF without any additional configuration!
How to Get Advanced Custom Field Value in WordPress
ACF stores field values in WordPress post meta, which means DK PDF can automatically read and display them. Here’s how it works:
Technical Background:
- ACF uses
get_post_meta()under the hood to store field values - DK PDF reads custom fields using the same
get_post_meta()function - This means ACF fields appear alongside native WordPress custom fields
Setting Up ACF Custom Fields in PDFs
The process is identical to regular custom fields:
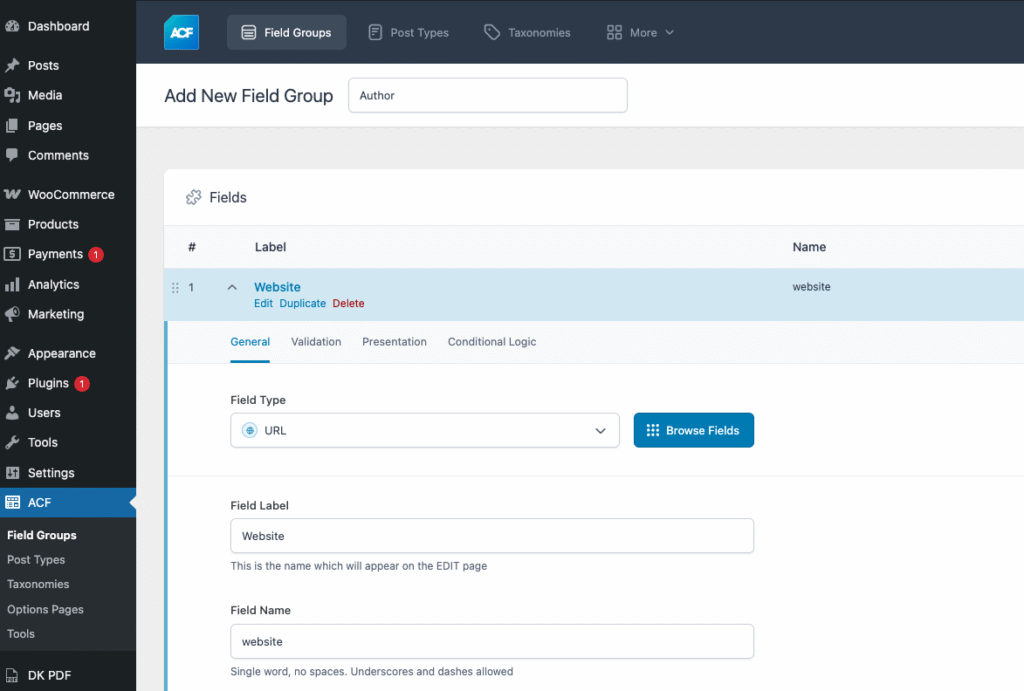
Step 1: Create ACF Field Groups
- Install and activate the Advanced Custom Fields plugin
- Go to Custom Fields > Add New in WordPress admin
- Create your field group and add fields
- Set location rules (e.g., Post Type is equal to Post)
- Publish your field group
Step 2: Add Field Values to Posts
- Edit any post where your ACF field group applies
- Fill in your ACF field values (they’ll appear in the editor)
- Update or publish your post

Step 3: Select ACF Fields in DK PDF
- Go to Settings > DK PDF > Custom Fields
- Your ACF field names will appear in the searchable dropdown
- Select the ACF fields you want to include in PDFs
- Click “Save Changes”
Important Note: Simple ACF field types (text, textarea, number, email, URL, etc.) work automatically. Complex field types like repeaters, galleries, or flexible content may require custom template modifications.
Adding WooCommerce Product Custom Fields to PDFs
If you’re running a WooCommerce store, you can include product-specific information in your PDFs, including product attributes and custom fields.
WooCommerce Product Attributes vs. Custom Fields
Product Attributes:
- Standardized product information (size, color, material)
- Displayed on product pages
- Can be used for filtering
Custom Fields:
- Additional product metadata
- Technical specifications
- Internal notes or SKUs
- Any extra product information
Both can be included in your PDFs using DK PDF.
Step 1: Enable WooCommerce Products in DK PDF
- Go to Settings > DK PDF > PDF Button
- Check the box next to “Product” post type
- Configure button display options
- Save changes
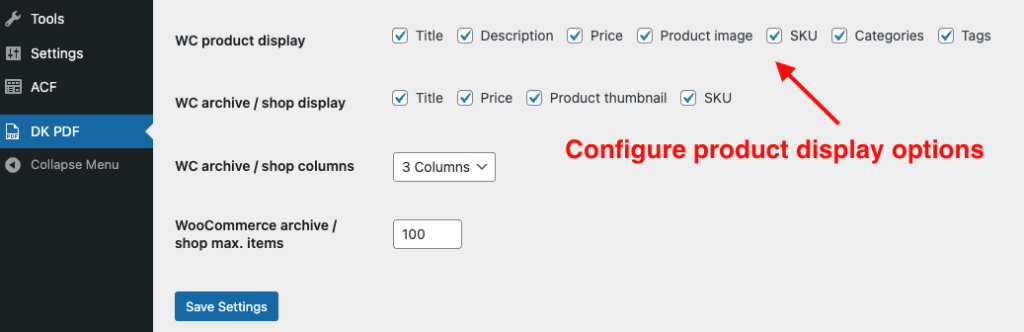
Step 2: Configure Product Display Options
DK PDF includes built-in support for common WooCommerce data:
- Go to Settings > DK PDF > PDF Templates
- Scroll to WooCommerce options
- Select what to display:
- Product title
- Product description
- Product price
- Product image
- SKU
- Categories
- Tags
Step 3: Add Custom Product Fields to PDF
To include WooCommerce product attributes and custom fields:
- Go to Settings > DK PDF > Custom Fields
- Find the “Product” section
- Search for product-specific custom fields:
- Custom product fields
- Third-party plugin fields
- Select the fields you want to include
- Save changes
Example: Product Specifications PDF
A typical WooCommerce product PDF might include:
- Product title and description (standard content)
- Price, SKU and Product image (WooCommerce display options)
- Custom specifications (custom fields):
manufacturerwarranty_periodcountry_of_origincertifications
Conclusion
WordPress custom fields are a powerful way to add structured data to your content, and with DK PDF, including that data in your PDFs is straightforward. Whether you’re using native WordPress custom fields, Advanced Custom Fields, or WooCommerce product attributes, the process is simple and requires no coding.